Veo 3.1 First and Last Frame Guide: Fix Bad Transitions
Learn how to use Veo 3.1 first and last frames, reduce unwanted fades and distortion, and write prompts for smoother AI video transitions.
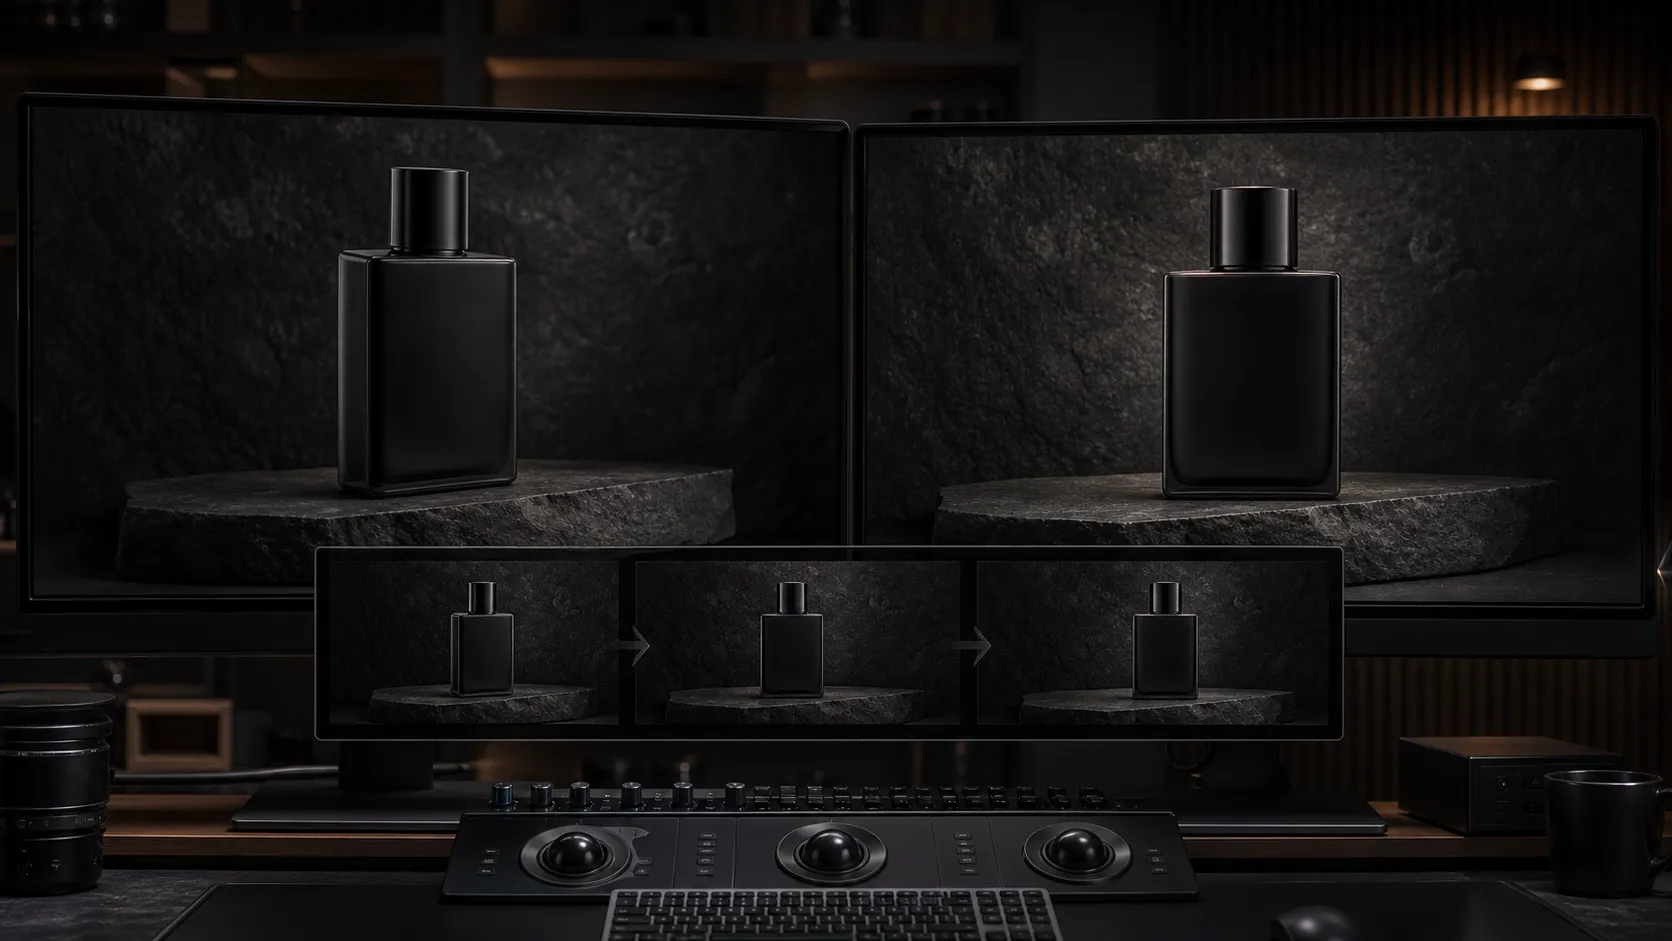
Veo 3.1 first and last frame generation gives you two visual anchors: the exact image where a clip begins and the image it should reach at the end. The model creates the motion between them. This can produce controlled product reveals, before-and-after transformations, character actions, match cuts, and cinematic scene changes.
It can also go wrong. Instead of a continuous shot, the result may hold on the opening image, fade into the ending image, distort the subject halfway through, or arrive at a final composition that only loosely resembles the frame you uploaded.
The most important lesson is that two attractive images do not automatically make a workable transition. Smooth results are more likely when the frames describe two compatible moments from the same plausible shot and the prompt explains the physical journey between them.
Start with the Veo 3.1 1080P generator when you want to test frame pairs and motion prompts efficiently. Use the Veo 3.1 4K generator after the transition works and the final delivery benefits from higher resolution.
What Does First and Last Frame Mean in Veo 3.1?
In a first-and-last-frame workflow, the first uploaded image anchors the opening state. An optional second image anchors the closing state. Your prompt directs what happens between those endpoints.
Google describes the feature as a way to create transitions between provided first and last images. Its current Gemini API documentation also recommends using an uploaded image or a frame from a previous Veo generation when you need a scene to begin and conclude in a specific way. See the official Veo 3.1 capability page and Google's Veo API guide for the platform-level description.
The endpoints and prompt have different jobs:
- First frame: establishes the opening composition, subject, camera angle, and visual state.
- Last frame: establishes the destination composition and ending state.
- Prompt: describes the motion, timing, camera behavior, environmental changes, and audio that connect them.
The model is not simply playing one image and then the other. It must synthesize intermediate frames. If the endpoint images imply incompatible geometry or an impossible change, the model may hide the conflict with a fade, a rapid morph, an unexpected cut, or subject distortion.
First/Last Frame vs Reference Images vs Text to Video
These three task types solve different creative problems.
| Task type | What you provide | Best use |
|---|---|---|
| Text to Video | Prompt only | Open-ended scene exploration |
| First / Last Frame | One opening image, or opening and ending images | Controlled starts, endings, transitions, reveals |
| Reference Images | One to three visual references | Subject, product, character, or style guidance |
Choose First / Last Frame when the opening and closing compositions matter more than open-ended exploration. Choose Reference Images when identity or appearance matters but you do not need the clip to land on a specific final frame. On FlowVeo3, reference-image input is currently limited to Fast mode, while the first/last-frame task is supported across Lite, Fast, and Quality modes on the dedicated resolution pages.
You can compare all available task types from the Veo 3 video generator.
How to Use First and Last Frames on FlowVeo3
The workflow is straightforward:
- Open the 1080P or 4K Veo 3.1 generator.
- Select First / Last Frame as the task type.
- Upload the opening image first.
- Upload the ending image second if you need a defined destination.
- Write a prompt describing the motion between those frames.
- Choose 16:9, 9:16, or Auto based on your input and delivery format.
- Select Lite, Fast, or Quality.
- Review the credit total before generating.
The generator accepts one frame when you only need to animate an opening image, or two frames when both endpoints matter. Current FlowVeo3 modes generate eight-second clips and include audio direction.
Do not use the prompt to repeat everything already visible in both images. Spend most of the prompt on what the images cannot show: movement, timing, camera path, material behavior, atmosphere, and sound.
Why Veo 3.1 Creates a Fade Instead of a Smooth Transition
A fade is often the model's safest way to reconcile two images that do not describe a believable continuous shot. Adding “seamless transition” to the prompt may help communicate intent, but it cannot repair a fundamentally incompatible frame pair.
Common causes include:
- The subject changes size dramatically between frames.
- The camera jumps from a wide shot to an unrelated macro angle.
- The first image uses a front view and the last image reveals geometry the model cannot infer.
- Lighting comes from opposite directions without a motivated scene change.
- The background layout changes completely.
- A product label, face, outfit, or object shape differs between images.
- Too many transformations must happen inside one short clip.
- The prompt describes an edit effect instead of a physical action.
For example, “transition from image one to image two without fading” tells the model what not to do but does not explain what should happen. A stronger prompt describes a visible process:
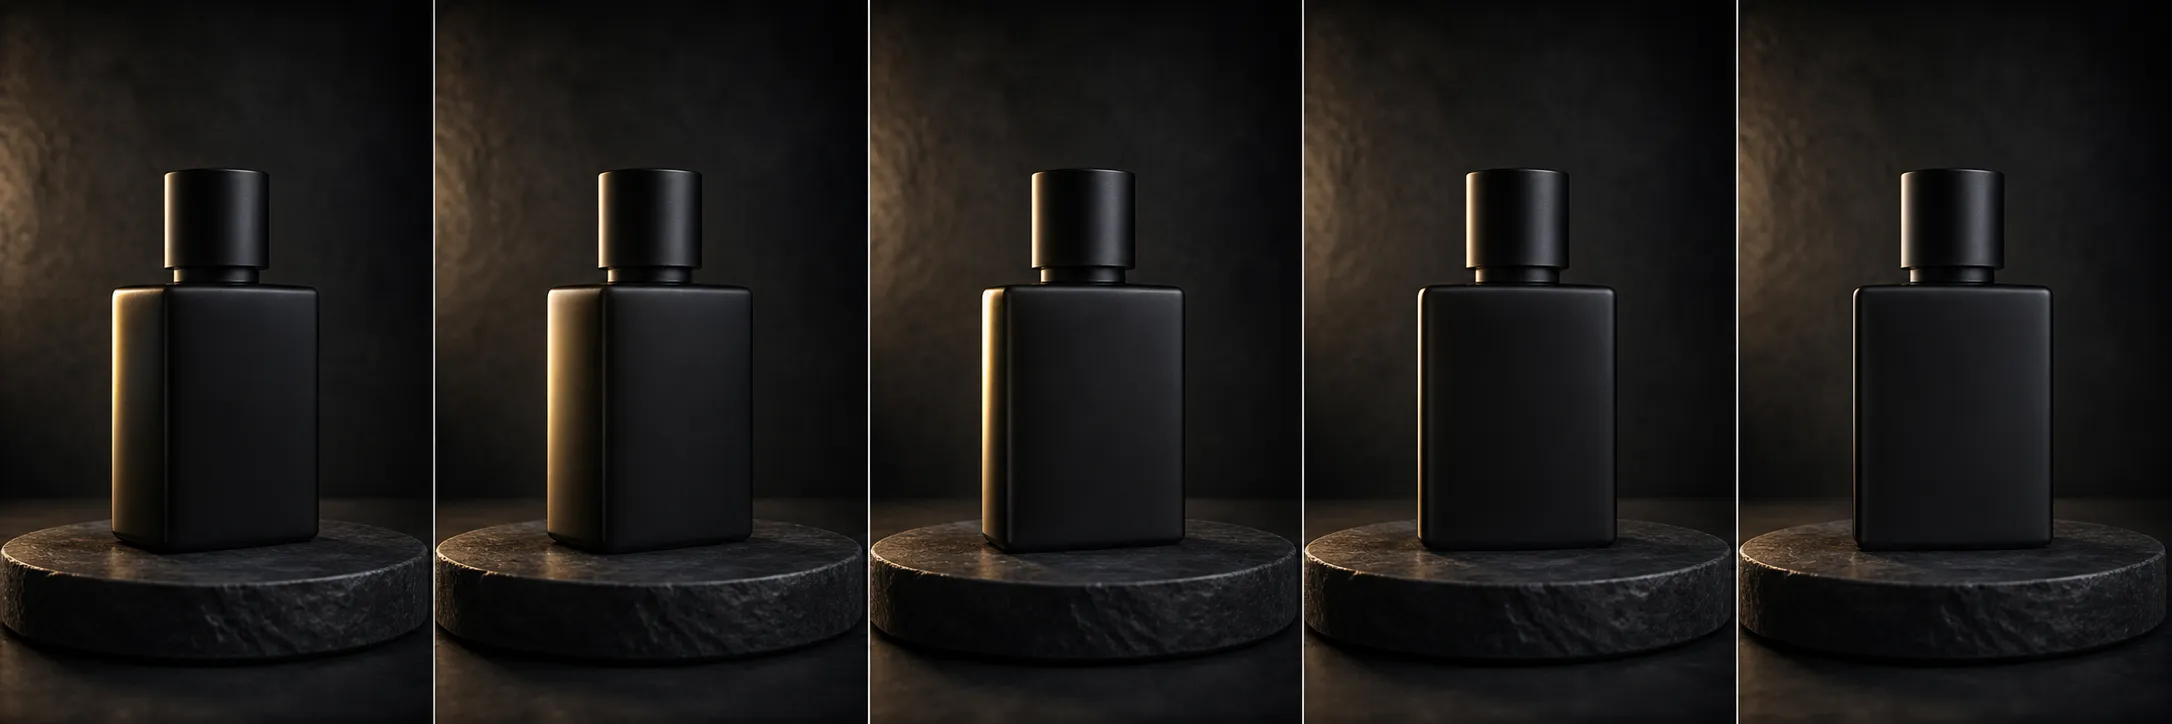
The camera makes a slow clockwise arc around the bottle while the bottle rotates one quarter turn on the stone platform. A narrow band of warm light travels from left to right across the glass. The background and platform remain fixed. End on the exact front-facing product composition shown in the final frame. One continuous shot, no cut or dissolve.
This gives the model a camera path, subject motion, lighting change, invariants, and a destination.
Choose Compatible First and Last Frames
Frame selection matters more than prompt length. Before generating, compare the images using this checklist.
Keep the Same Subject Geometry
The product, character, vehicle, or object should retain the same defining features. A bottle cannot smoothly reach a final frame if its cap, label proportions, and silhouette change between the two source images.
Match Camera Height and Perspective
Small camera movement is easier to bridge than a completely different lens and viewpoint. If the first image looks like a low-angle 24mm shot and the last looks like a top-down 85mm close-up, a continuous transition becomes much harder.
Control Subject Scale
A modest push-in can work. An extreme jump from a tiny full-body figure to an eye close-up may create stretching, abrupt reframing, or a disguised cut.
Preserve Background Landmarks
Keep walls, horizons, furniture, doors, platforms, and major light sources in compatible positions unless the transition is specifically about the environment transforming.
Give the Change a Physical Cause
The final state should be reachable through an understandable action: rotate, walk, open, unfold, pour, rise, assemble, move forward, change lighting, or shift weather. Abstract changes are possible, but they need a clear visual mechanism.
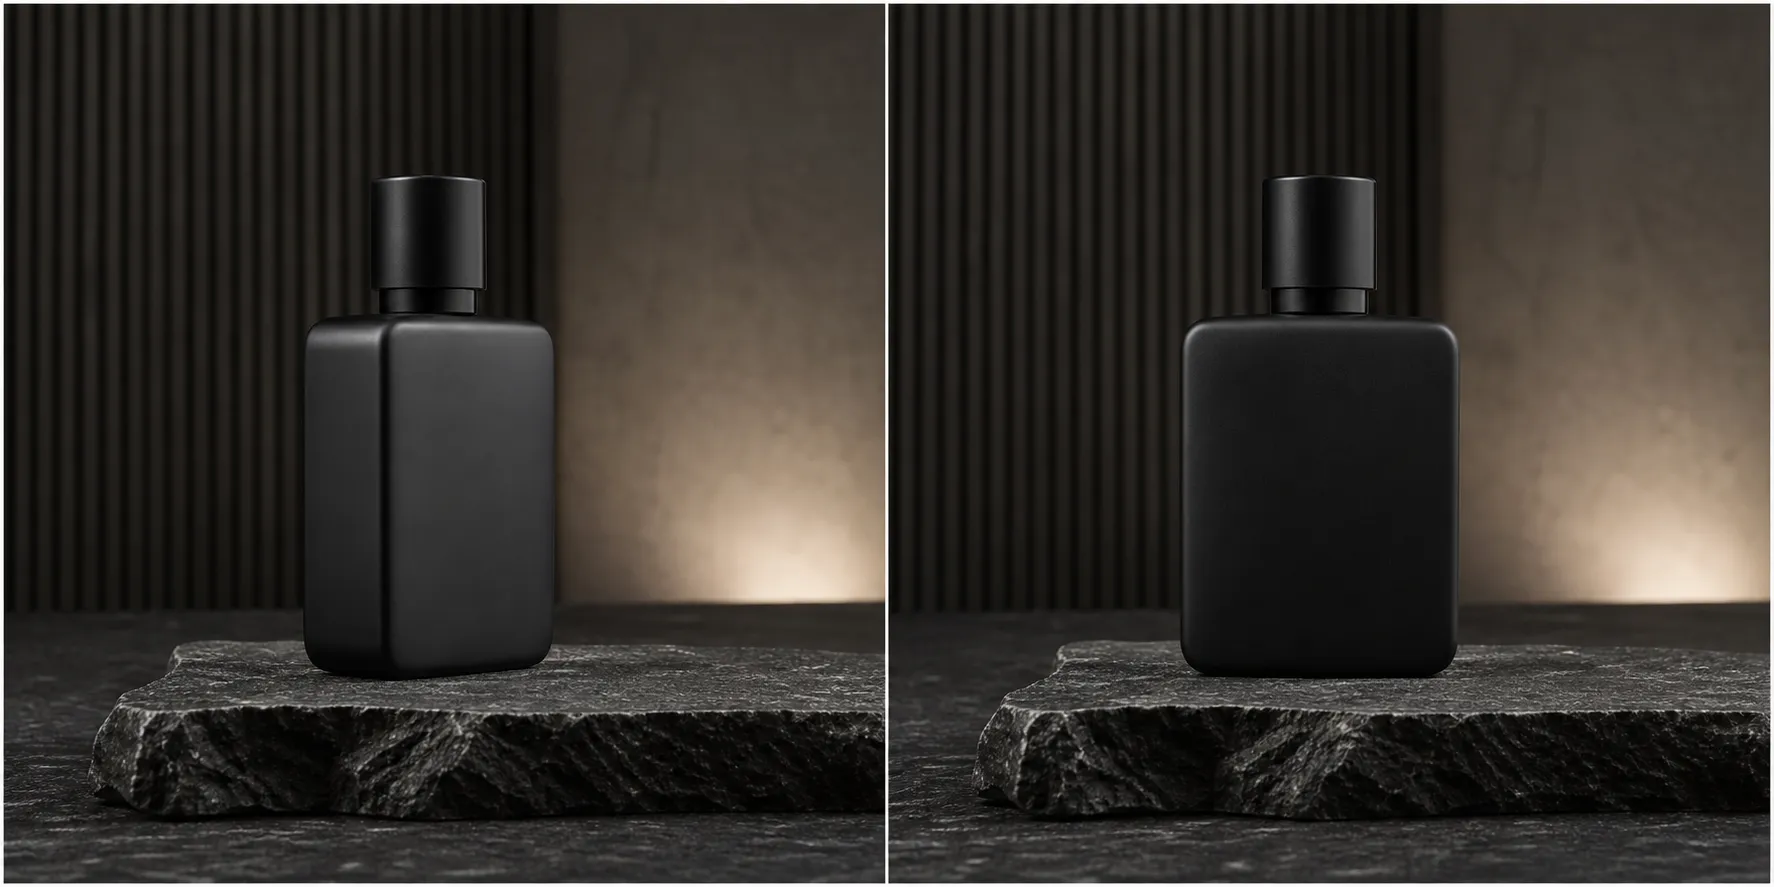
When possible, create the last frame by editing or extending the first-frame composition rather than generating two unrelated images from scratch. This usually reduces identity and layout conflicts.
A Prompt Formula for First-to-Last-Frame Video
Use this structure:
Subject continuity + physical action + camera path + environmental change + timing + ending instruction + audio + exclusions
In practical terms:
- State what must remain unchanged.
- Describe one primary subject action.
- Describe one camera movement.
- Add only the environmental change needed.
- Explain how the motion develops across the clip.
- Tell the shot how to settle into the last frame.
- Add dialogue, ambience, sound effects, or silence.
- Exclude cuts, fades, unwanted text, or extra objects when relevant.
Avoid packing several unrelated actions into the same eight-second shot. A clean rotation plus a controlled camera arc is more achievable than a product exploding, reassembling, flying across a city, changing materials, and landing on a new set.
Copy-Ready Veo 3.1 First and Last Frame Prompts
These templates are starting points. Adapt the subject, motion, and frame relationship to your own images.
Product Rotation
Preserve the exact bottle shape, cap, label placement, platform, and background from both frames. The bottle rotates slowly clockwise while the camera performs a subtle counterclockwise arc, revealing the side surface before settling on the front-facing composition in the final frame. Reflections move naturally across the glass. One continuous studio shot with no cut, dissolve, or added objects. Audio: quiet room tone and a soft mechanical platform sound.
Before-and-After Room Transformation
Keep the camera locked in exactly the same position. The empty room is renovated progressively from front to back: flooring settles into place, walls gain a warm neutral finish, and the furniture assembles through continuous physical movement. Preserve the room dimensions, windows, and perspective. Complete the transformation gradually and settle on the furnished final frame. No camera cut, no crossfade, no people, no on-screen text.
Character Turning Toward Camera
Preserve the character's facial features, hairstyle, coat, body proportions, and background. The character takes two natural steps forward, turns from profile toward the camera, and comes to a relaxed stop in the exact pose and framing of the final image. The camera makes a gentle stabilised push-in. Natural fabric movement and realistic foot placement. One continuous shot. Audio: soft footsteps and city ambience, no dialogue or music.
Day-to-Night Landscape
Maintain the exact landscape geometry, skyline, lake edge, and camera position. Time passes smoothly from late afternoon to blue hour: sunlight lowers, shadows lengthen, windows illuminate gradually, and the sky deepens into the final night composition. The water continues moving naturally throughout. Locked camera, no cut or dissolve. Audio: light wind, distant birds fading into quiet evening ambience.
Controlled Product Reveal
Begin with the product concealed by the dark foreground panel shown in the first frame. The panel slides steadily to the left while a narrow key light rises across the product surface. The camera remains fixed and the product geometry never changes. Finish with the complete product centered exactly as shown in the last frame, holding steady for the final moment. No fade, no text, no extra props. Audio: subtle sliding mechanism and a restrained impact sound at the reveal.
How to Fix Common First/Last Frame Problems
| Problem | Likely cause | What to change |
|---|---|---|
| Simple crossfade | Frames are visually incompatible or motion is undefined | Match perspective and describe a physical bridge |
| Long static opening | Prompt delays the main action | Say the action begins immediately and continues steadily |
| Static final seconds | Model reaches the endpoint too early | Describe motion pacing and ask it to settle only near the end |
| Subject changes shape | Source identity differs or action is too complex | Align source images and reduce transformations |
| Final frame is inaccurate | Too many changes happen before the endpoint | Simplify the shot and restate final composition invariants |
| Sudden camera jump | Endpoint lenses or framing differ too much | Use a smaller push, orbit, pan, or tilt |
| Unwanted text or captions | Model interprets dialogue or signage visually | Add no captions, subtitles, logos, or on-screen text |
| Background mutates | Layout differs across frames | Lock background geometry and major landmarks |
If the Opening Frame Stays Static
Start the prompt with immediate action:
Motion begins immediately. The subject starts walking in the first moment while the camera tracks at the same pace.
Avoid a long setup description before the action. The model needs to understand that the first image is a starting state, not a still image that should remain unchanged for several seconds.
If the Last Frame Appears Too Early
Describe the pacing:
Maintain continuous movement through most of the shot, slow naturally near the end, and reach the final composition only in the last moment.
This is direction, not a guarantee. Generated timing can still vary, so plan for iteration.
If the Subject Morphs
Remove nonessential transformations and explicitly lock the defining features. For products, name silhouette, label placement, cap, material, and proportions. For a character, repeat a concise identity description and avoid extreme pose changes or occlusion.
If “No Crossfade” Does Not Work
Negative instructions are weaker when the positive motion remains ambiguous. Keep “no crossfade” as a constraint, but add a concrete transition mechanism such as rotation, camera travel, progressive construction, unfolding, a lighting sweep, or continuous character movement.
Can You Make a Seamless Loop With First and Last Frames?
Using the same image as both endpoints can encourage the clip to return to its opening composition, but it does not guarantee a perfect loop. Veo still generates motion between the endpoints, and small differences in object position, lighting, particles, water, fabric, or camera velocity may create a visible jump at playback.
For a better loop:
- Use the same image for both endpoints.
- Keep the camera locked or use a motion path that naturally completes a cycle.
- Avoid irreversible actions such as breaking, pouring, burning, or assembling.
- Keep particle, water, smoke, hair, and fabric motion restrained near both ends.
- Ask movement to slow and match the opening state at the final moment.
- Trim or blend the final edit when a frame-perfect loop is required.
A rotating object, breathing light, gently swaying plant, or subtle atmospheric scene is a better loop candidate than a complex narrative action.
Use 1080p for Tests and 4K for Selected Finals
First-and-last-frame generation usually requires testing. A compatible frame pair can still produce different intermediate motion across separate generations.
A cost-efficient workflow is:
- Prepare the most compatible endpoint images you can.
- Test the transition in 1080p.
- Change one variable at a time: frames, action, camera, or timing.
- Select the version with the best subject consistency and motion path.
- Use 4K only when the final placement benefits from extra resolution or crop flexibility.
On FlowVeo3, the current eight-second first/last-frame costs are 10, 20, and 40 credits for 1080P Lite, Fast, and Quality. The 4K equivalents are 25, 40, and 60 credits. Confirm the displayed production cost before generating because product settings may change.
Read the Veo 3.1 4K vs 1080p guide for a deeper resolution comparison, and review the current credit packages before planning multiple versions.
A Practical Quality-Control Checklist
Review each result before spending credits on a higher-resolution version:
- Does the clip visibly begin from the intended first frame?
- Does the subject keep the same proportions and defining details?
- Is the transition caused by a believable action?
- Does the camera move smoothly without an unexplained jump?
- Does the background remain coherent?
- Does the shot reach the intended final composition?
- Are dialogue, ambience, and sound effects appropriate?
- Did the model add unwanted text, captions, logos, or objects?
- Can the result survive the crop required by the final platform?
Do not judge only the first and last seconds. The generated middle is where geometry, identity, physics, and motion problems usually appear.
FAQ
Does Veo 3.1 support both a first and last frame?
Yes. Google documents first-and-last-frame generation for Veo 3.1, and FlowVeo3 accepts one opening image or a pair of opening and ending images in its First / Last Frame task.
Why does Veo 3.1 fade between my images?
The frames may be too different in perspective, subject scale, lighting, geometry, or composition, or the prompt may not explain the physical motion between them. Align the images more closely and describe a continuous action instead of only requesting a seamless transition.
Can a prompt completely prevent crossfades?
No prompt can guarantee a specific result for every frame pair. “No fade or dissolve” is useful as a constraint, but compatible endpoint images and a clearly described physical bridge usually matter more.
Should I describe the first and last images in the prompt?
Mention the subject details that must remain consistent, but focus most of the prompt on the journey between the frames: action, camera path, pacing, environmental change, and ending behavior.
Is First / Last Frame the same as Reference Images?
No. First / Last Frame controls where a video begins and optionally ends. Reference Images guide the identity, product, location, or style without requiring a specific closing frame.
Can I use only one image?
Yes. A single first frame can be used as the starting point for image-to-video motion. Add a second image only when the final state or composition needs to be anchored.
Is 1080p or 4K better for frame-to-frame testing?
1080p is generally more efficient for testing prompts and frame compatibility. Choose 4K for selected final clips when premium detail, large-screen playback, or editing headroom justifies the additional credits.
Can First and Last Frame create a perfect seamless loop?
It can help a clip return toward its opening composition, but a frame-perfect loop is not guaranteed. Use restrained cyclical motion and expect to trim or blend the result in an editor when exact looping matters.
Final Recommendation
The best Veo 3.1 first and last frame results begin before you write the prompt. Choose two images that could plausibly be moments from the same shot, preserve the subject and background geometry, and define one understandable path between them.
When a result fades, freezes, or morphs, do not simply add more adjectives. Fix the endpoint relationship, simplify the action, and describe the physical transition. Test the idea at 1080P, then move the strongest version to 4K only when the delivery requires it.
Ready to test a controlled transition? Start with the Veo 3.1 1080P generator, choose First / Last Frame, upload your endpoints in order, and direct the motion that connects them.